How to Update Your PlayStation®4 MadCatz Firmware
In this guide we’ll be walking you through updating your instrument firmware. If you're looking for Xbox One firmware, please refer to this page.
What is firmware and why do I need to update it anyway?
Great question! The short answer is this: firmware helps your controllers do what they’re supposed to do. Many of the devices that you have at home (consoles, stereos, media players) use firmware. From time to time firmware needs to be updated to improve the way your controllers or at home devices work. We have several firmware updates for MadCatz-developed instruments.
How do I know which instruments need firmware updates?
If you are experiencing instrument disconnects or are having a hard time drumming, it may be time to update your firmware. You only need the latest version, so if you've installed that, you are up-to-date.
What do I need to update my firmware?
For all of your controllers you’ll need:
- A Windows 7, 8.1, or 10 PC OR Apple Mac running OS X 10.10 or higher
- Bluetooth capability
- Fresh batteries in your controller
- Be sure to leave the batteries in while you update!
- The firmware updater
Step 1: Connect your instrument controller to your computer and install the update
Windows 7:
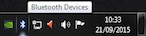
- In the system tray next to your clock you should have a Bluetooth icon
- Turn on your instrument
- Use your USB to USB Micro Cable to connect your instrument to your PC. Insert one end into the port in the battery compartment and the other into your PC.
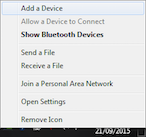
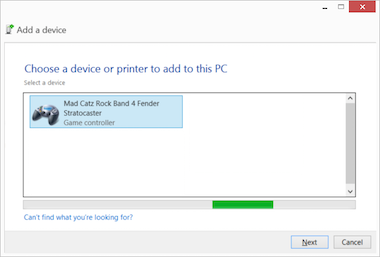
- Right click the Bluetooth icon and choose Add a Device:
- You should see your instrument in the devices list:
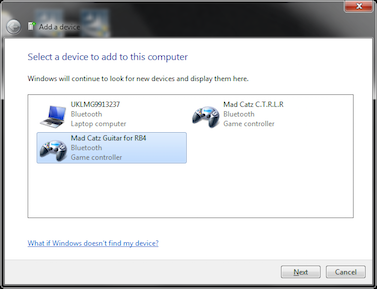
- Select the controller and then click Next. The device installation will begin:
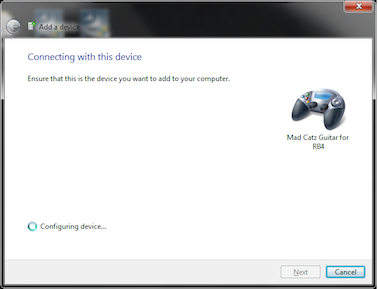
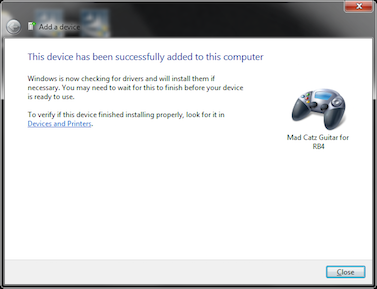
- Once it has finished you will see the following screen. Now the updater will finish updating your instrument. Just follow the prompts to finish. Then move on to Step 2:
Windows 8.1:
- Turn on your instrument
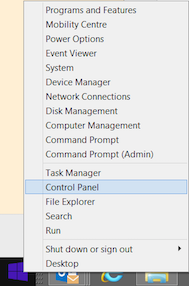
- Right click on START, then select Control Panel
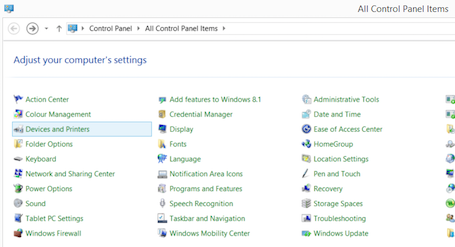
- In your Control Panel, select Devices and Printers
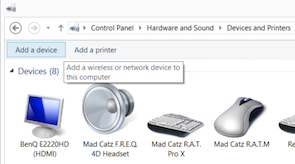
- Select Add a device
- Select your instrument and the device installation will begin.
- Once it has finished you will see your instrument present in the Devices and Printers list. Now the updater will finish updating your instrument. Just follow the prompts to finish.
Windows 10:
- Turn on your instrument
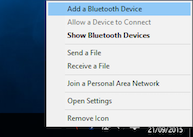
- In the system tray you should see a Bluetooth icon next to your clock. Right click it.
- Select Add a Bluetooth Device:
- You should see your controller pop up in the devices list:
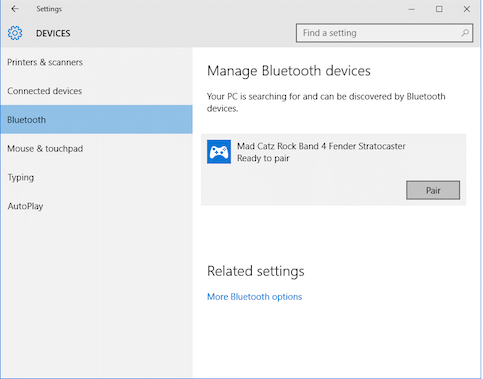
- Select it and click Pair. Your PC will start installing the device.
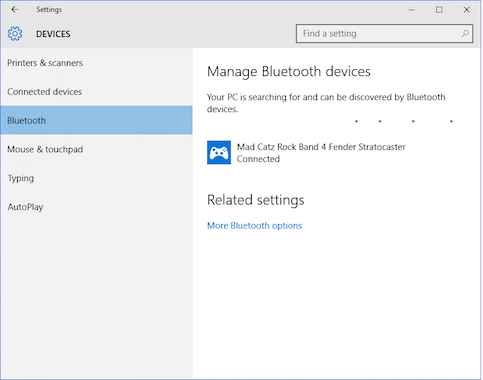
- Once installation is complete, you’ll see the following screen. Now the updater should finish installing your firmware. Just follow the prompts. When you’re all set, move on to Step 2.
Apple Mac:
- Turn on your instrument
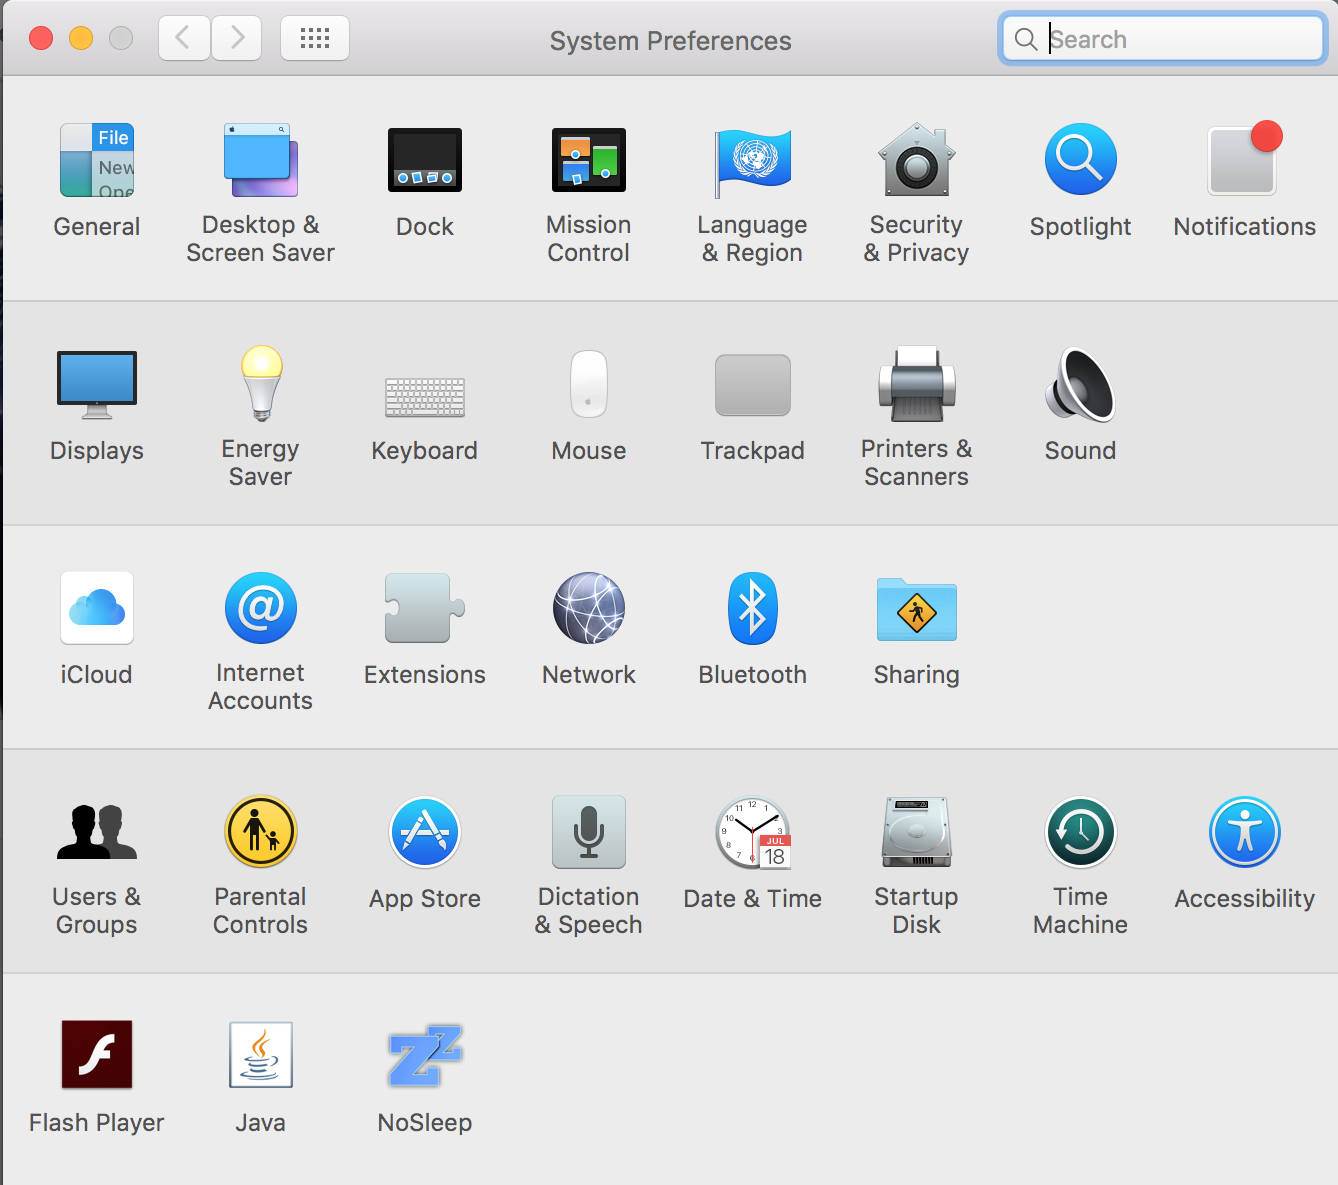
- Select System Preferences from the Apple Menu
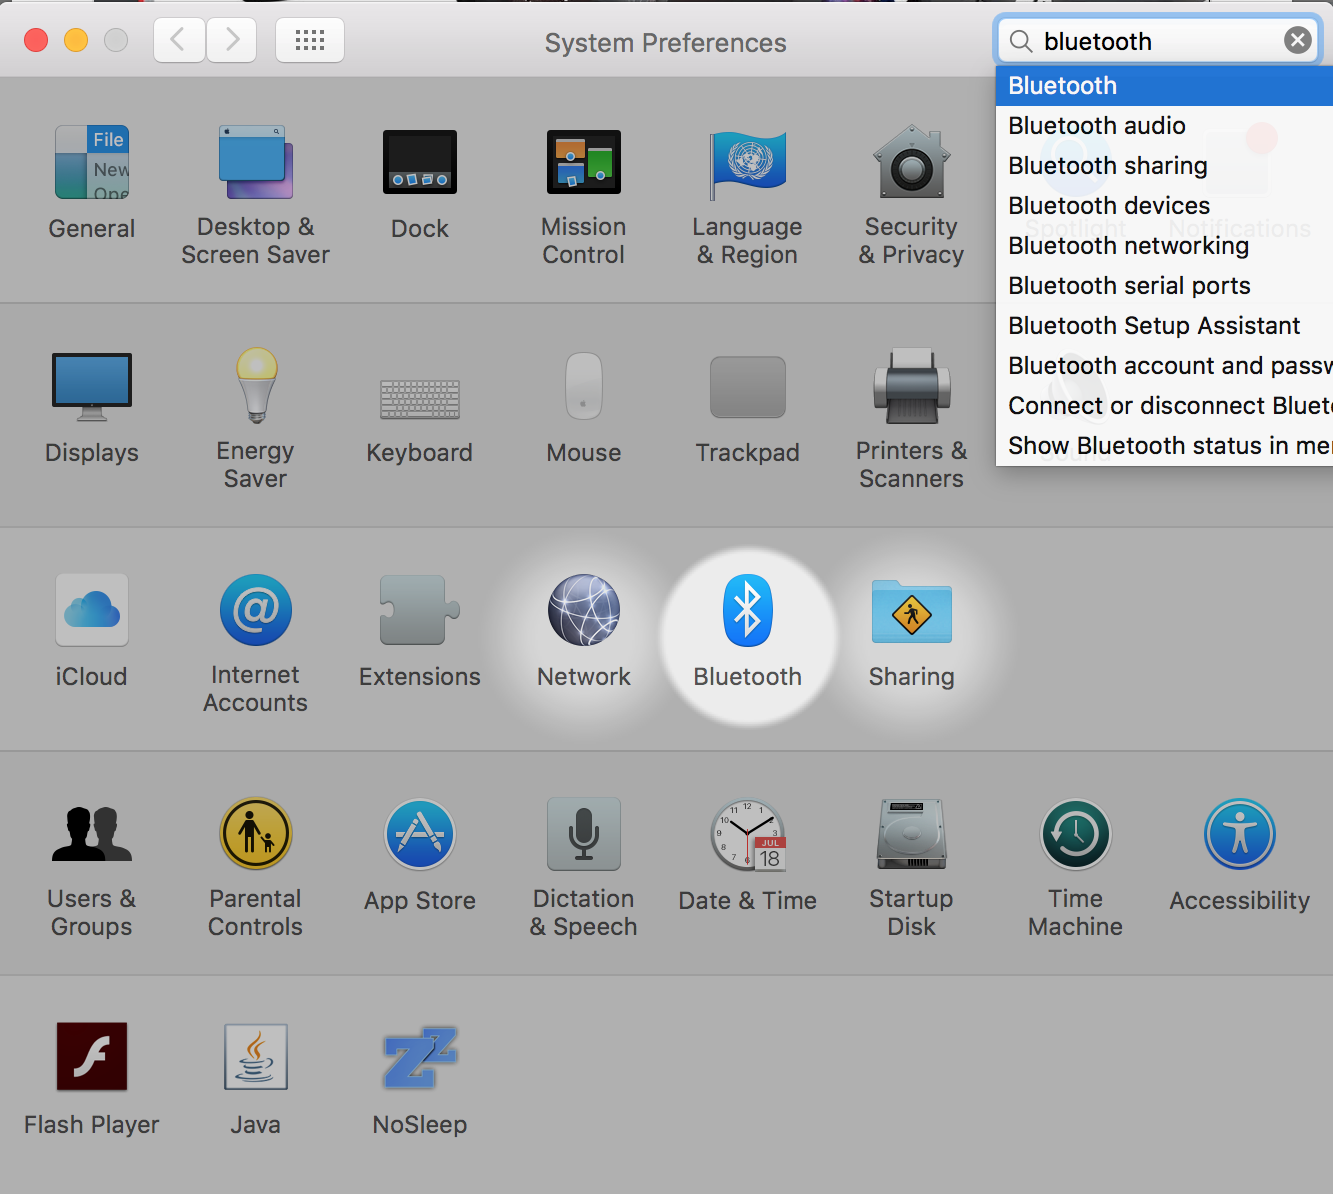
- Click Bluetooth
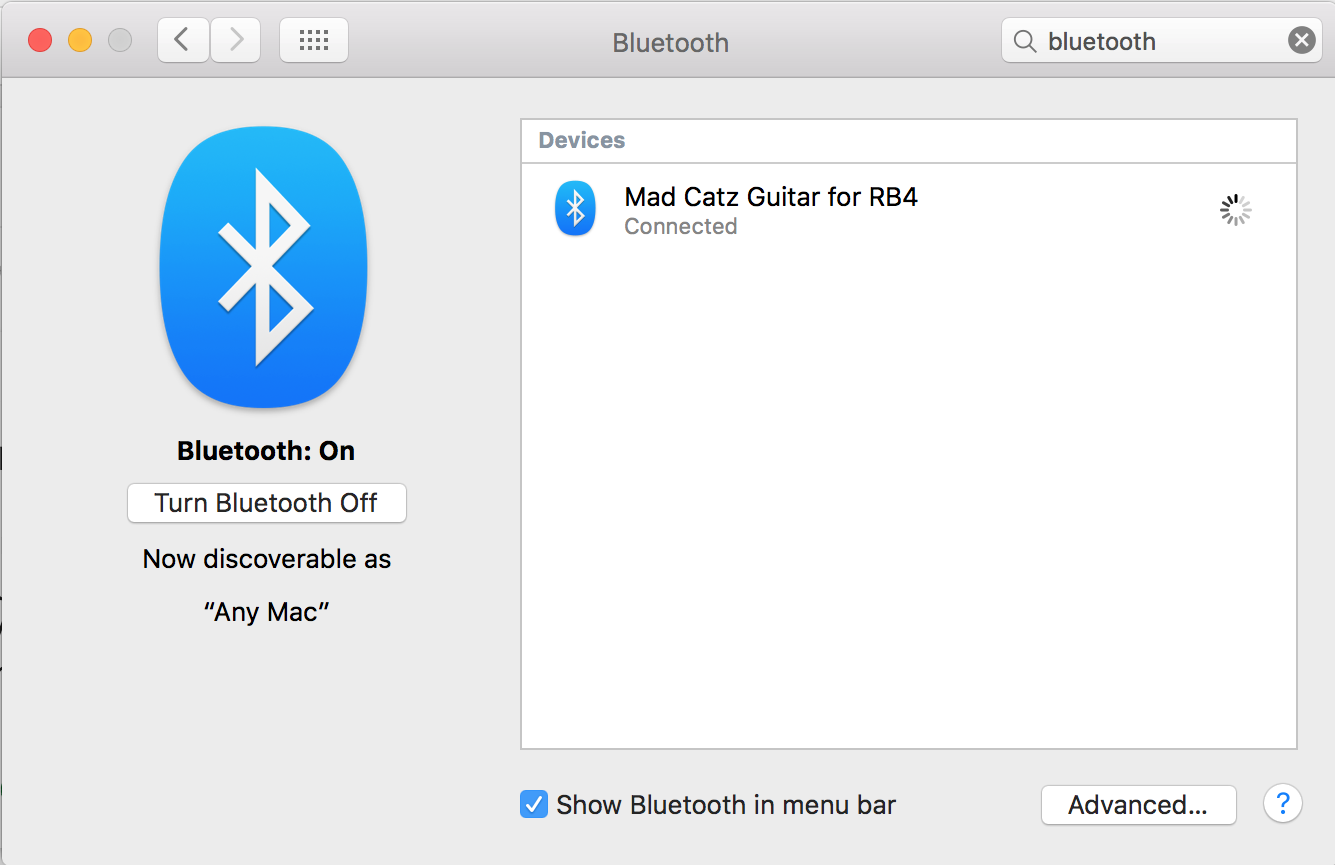
- Select your controller, then click Pair
Step 2: Remove your instrument controller from your Apple Mac or PC’s devices list
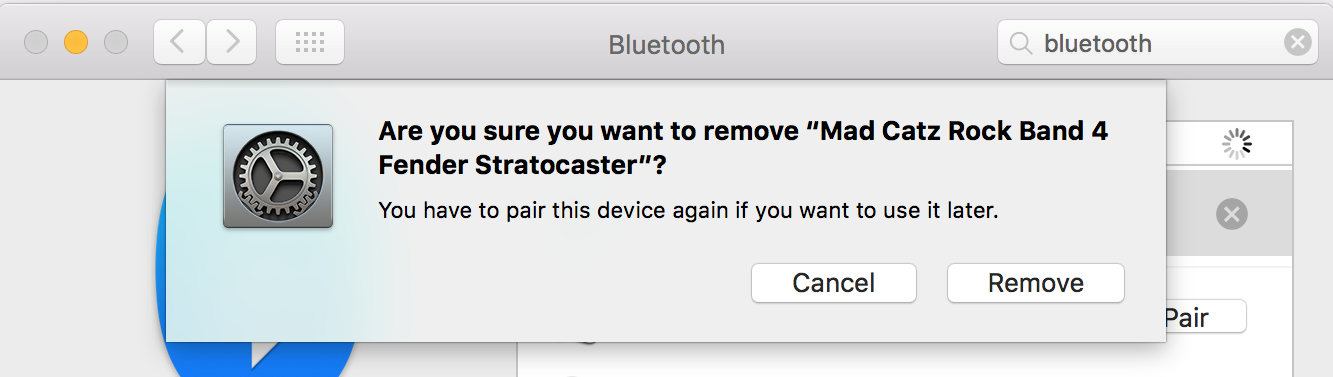
- Once the installation is complete, remove the instrument from your Apple Mac’s Bluetooth devices list by clicking the X to the right of the device name
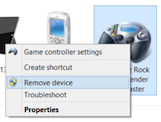
- For PC, remove the instrument from your Bluetooth devices list by right clicking the device and choosing Remove Device:
- For Mac, remove the instrument by clicking the X near the icon.
Step 3: Connect your controller back to your console
- Power on your console
- Sync your controller
- Choose Settings, then Devices, then Bluetooth
- Press the Sync button on your controller to display it and select it
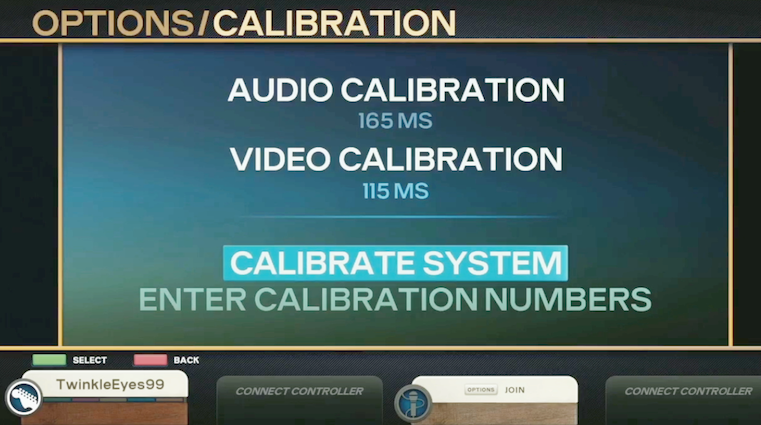
Step 4: Launch the game and recalibrate
Step 5: Rock out
If you have any questions, need assistance, or just want to check in with us, please feel free to submit a ticket at rockband4.com/support.